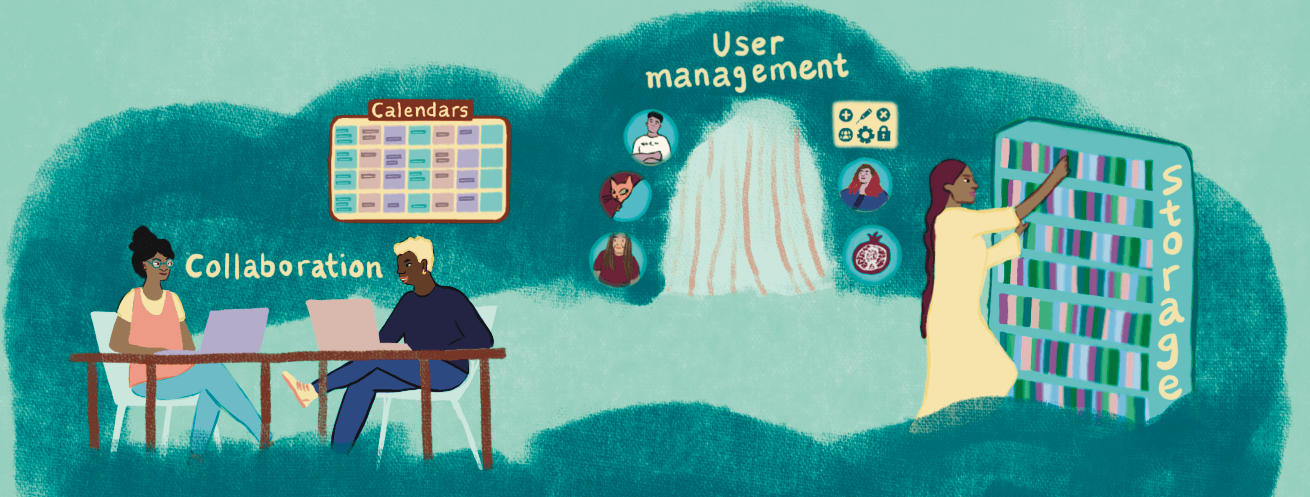
File space guide
Introduction
This guide provides explanations, tips and suggestions for the efficient use of Commslabs's main file repository files.commslabs.org which is based on an open source tool called Nextcloud.
Quick overview
Get familiar with capabilities of Nextcloud from official documentation:
Access
All Commslabs participants, organizers and trainers can access files.commslabs.org with their username and password.
To reset your password visit https://files.commslabs.org/index.php/login next click on Forgot password? link and enter your email address. You will receive the instructions on how to reset password via email.
With this username and password you can also access all other Commslabs platforms.
Personalized access
When you login into files.commslabs.org you will be able to see only the files and folders you have access to.
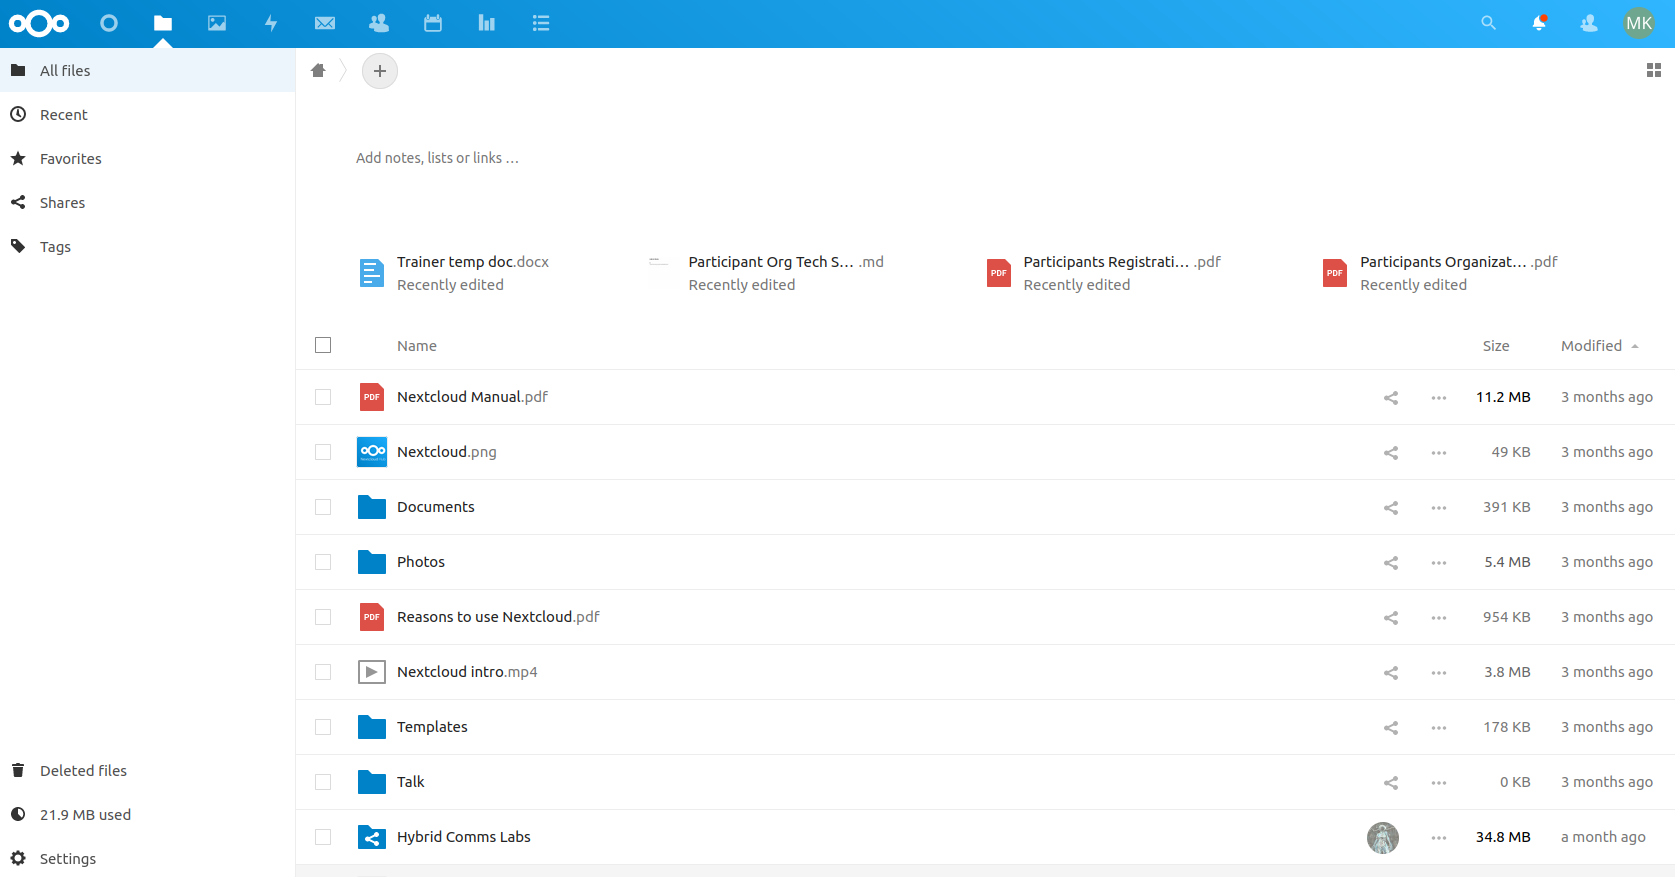
When people share access to folders or files with you, they will appear in your home folder and you will be able to see the name of the person who has shared the resource with you.
When you create a folder, subfolder or a file in your home folder you will be able to share it with others or not share it and keep it private.
Create a new folder
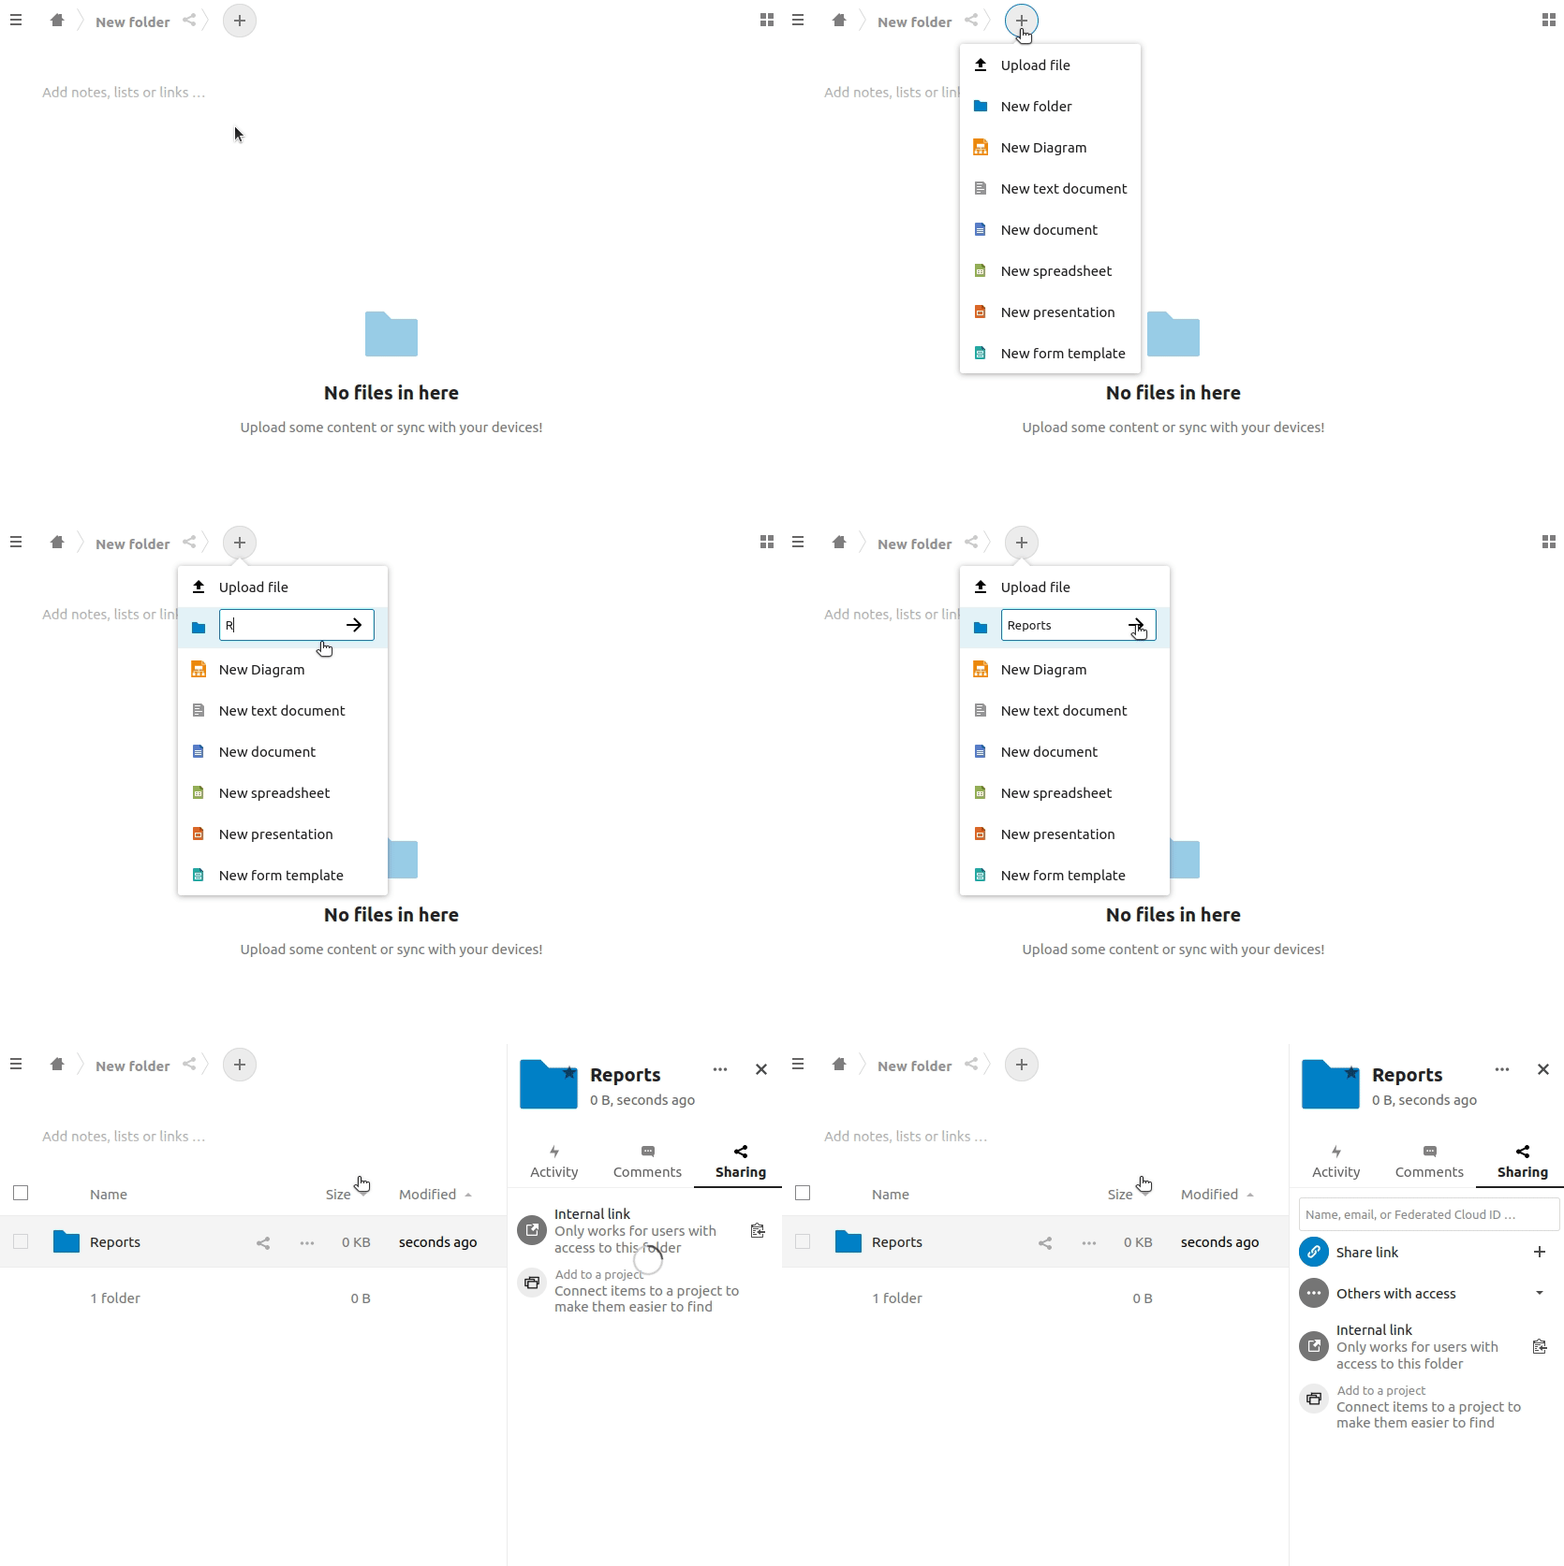
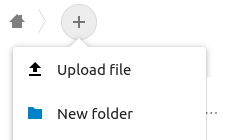
Go to the folder you wish to create the document in or your home view and click on the + icon and select New folder. Name the folder and click on the right arrow icon.
Create and upload documents
To prepare a file for document editing or sharing, you can
- upload an existing document or
- create a new one.
Create a new file
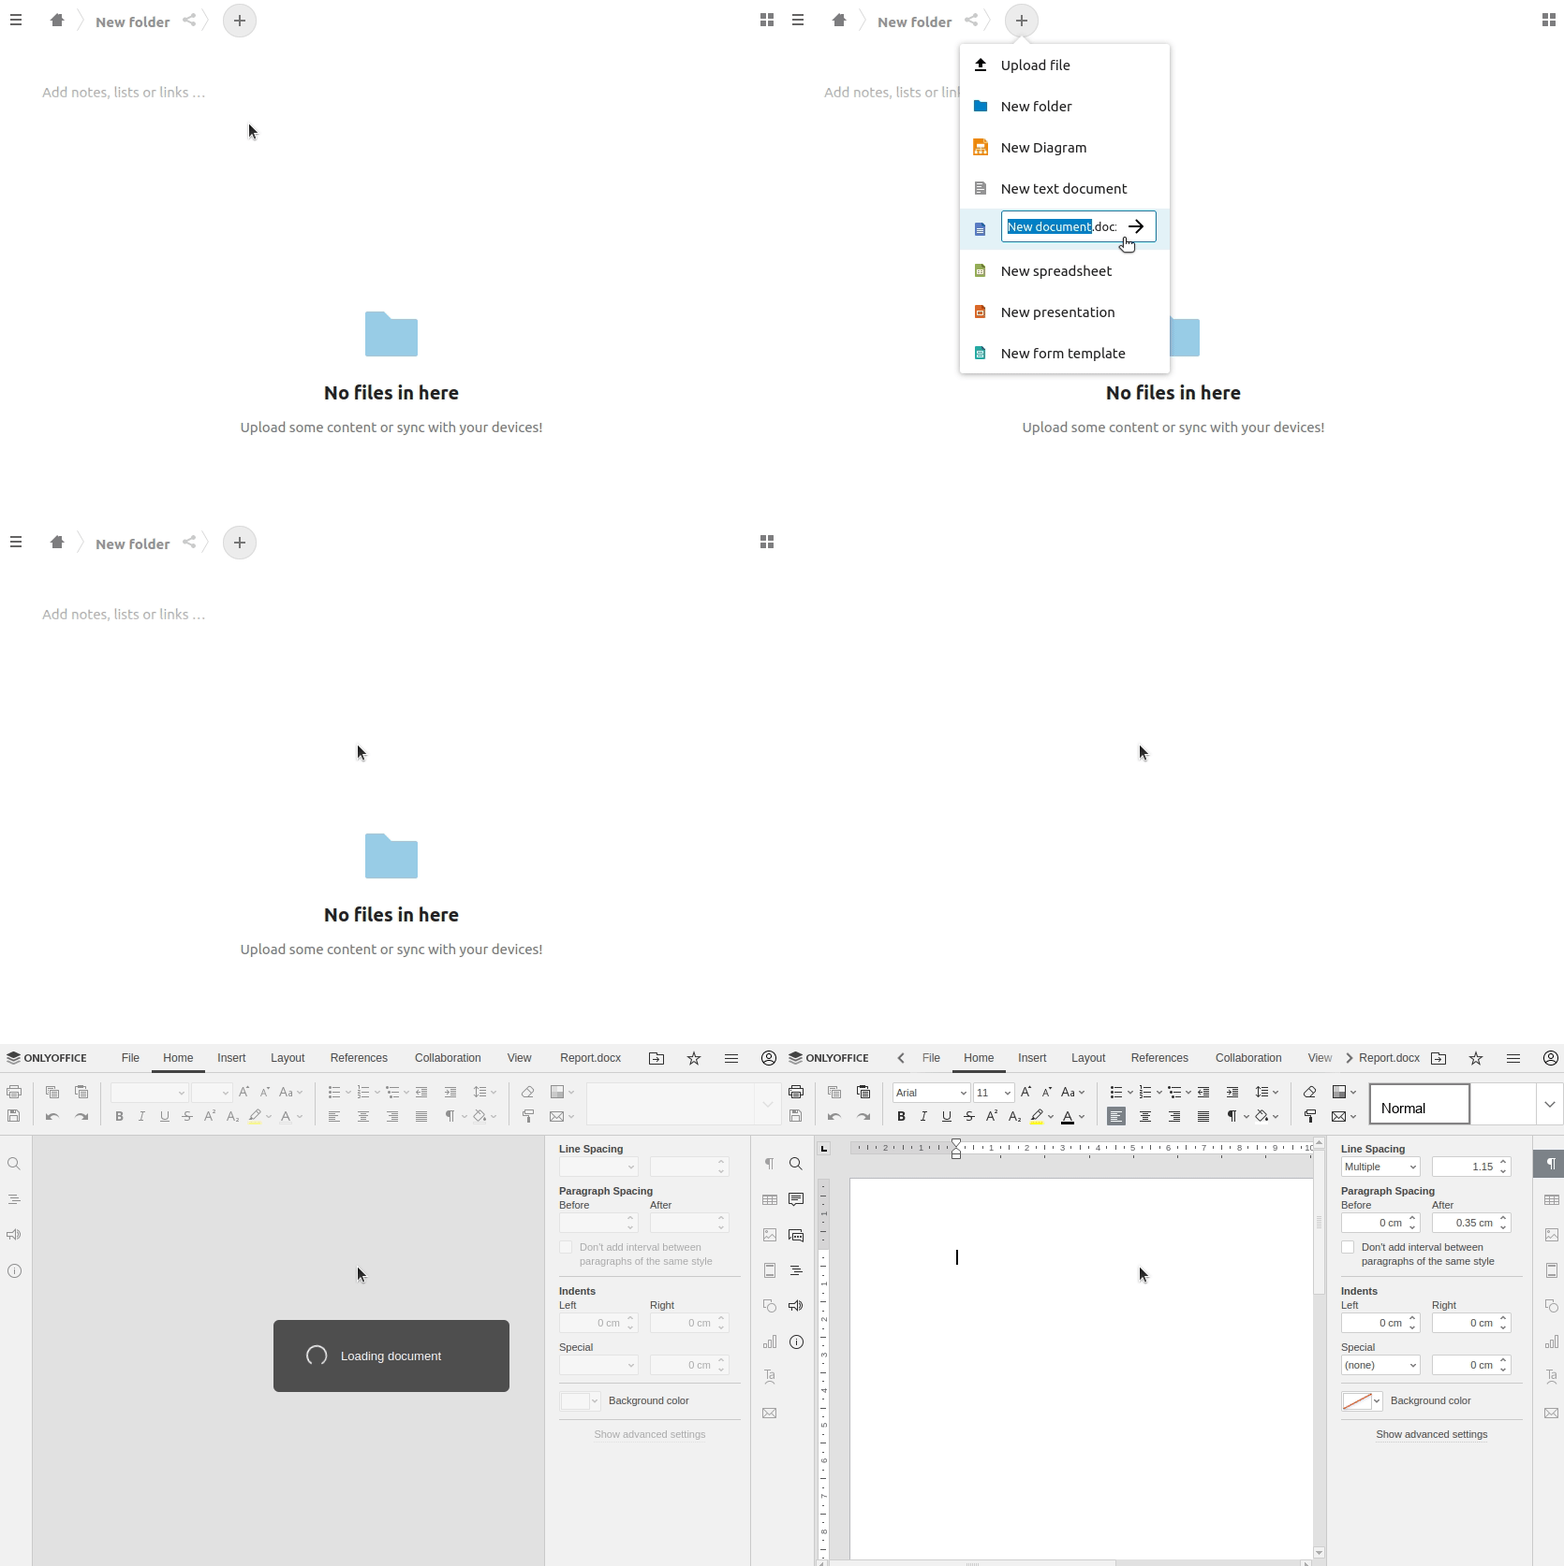
Go to the folder you wish to create the document in, click on the + icon and select the type of a document. You can choose between:
New Diagram(.drawio file)New text document(.md file)New document(.doc file)New spreadsheet(.xlsx file)New presentation(.pptx file) .. and others
Upload a document
Go to the folder where you would like to upload a file, click on the + icon and select Upload file.
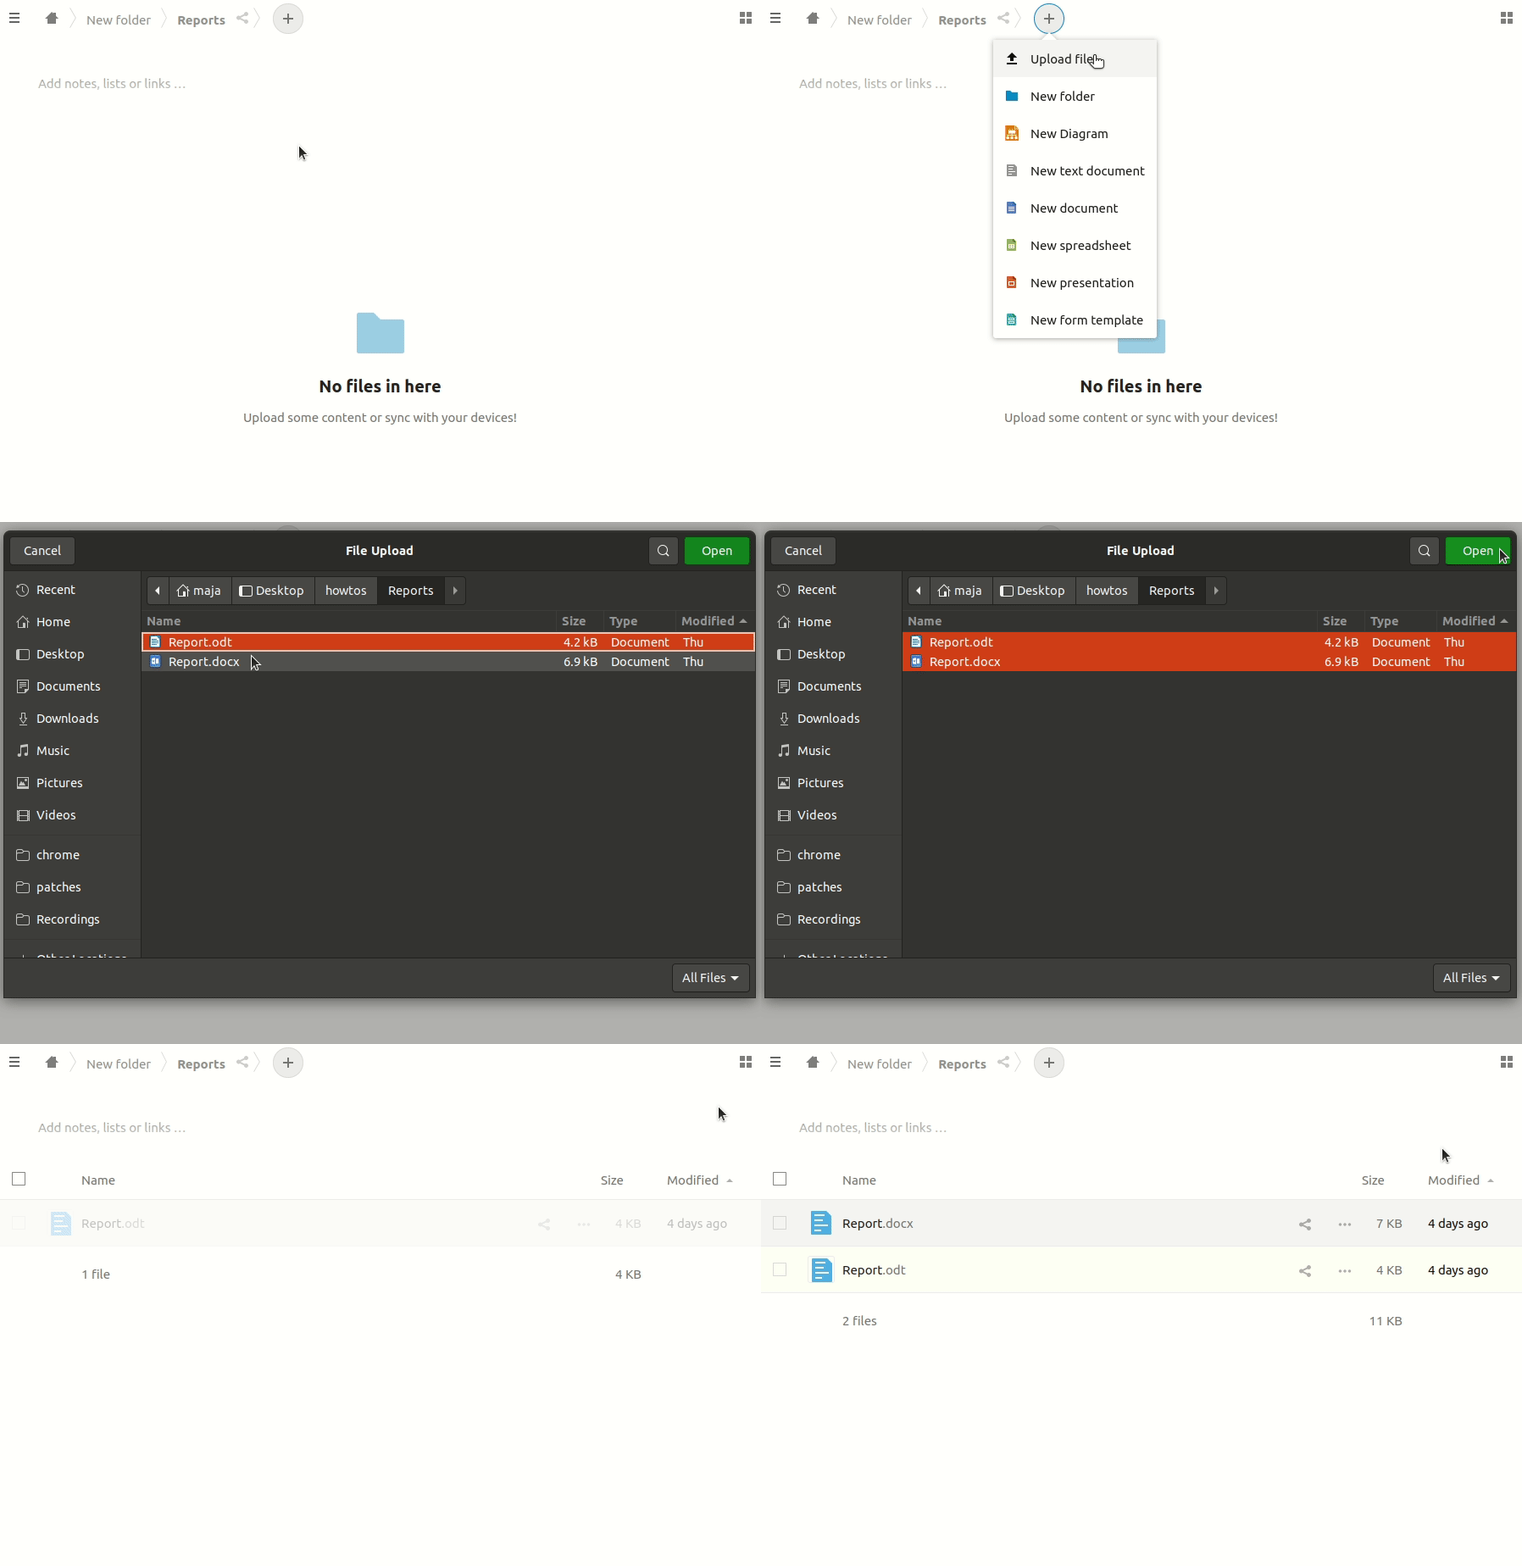
If you hold down Shift key you can select multiple files. Ctrl + A will select all files in the folder.
Share a file or folder
For the files and folders you create, upload or manage (and sometimes for the files and folders that are shared with you) you can grant access to other people and define how they will be able to interact with them - for example, you can make sure they access it in read only mode or that they are not able to delete it. When you share files and folders the other users may copy, rename, download, move, and share them with other people - just as they can for any other computer file.
Note that access rights are inherited. This means that if you share a folder with someone, they will also have access to subfolders and files contained inside it.
In order to share a file or folder click on the share icon on the right side of the file or folder. A side panel where you can define how it is shared will open.
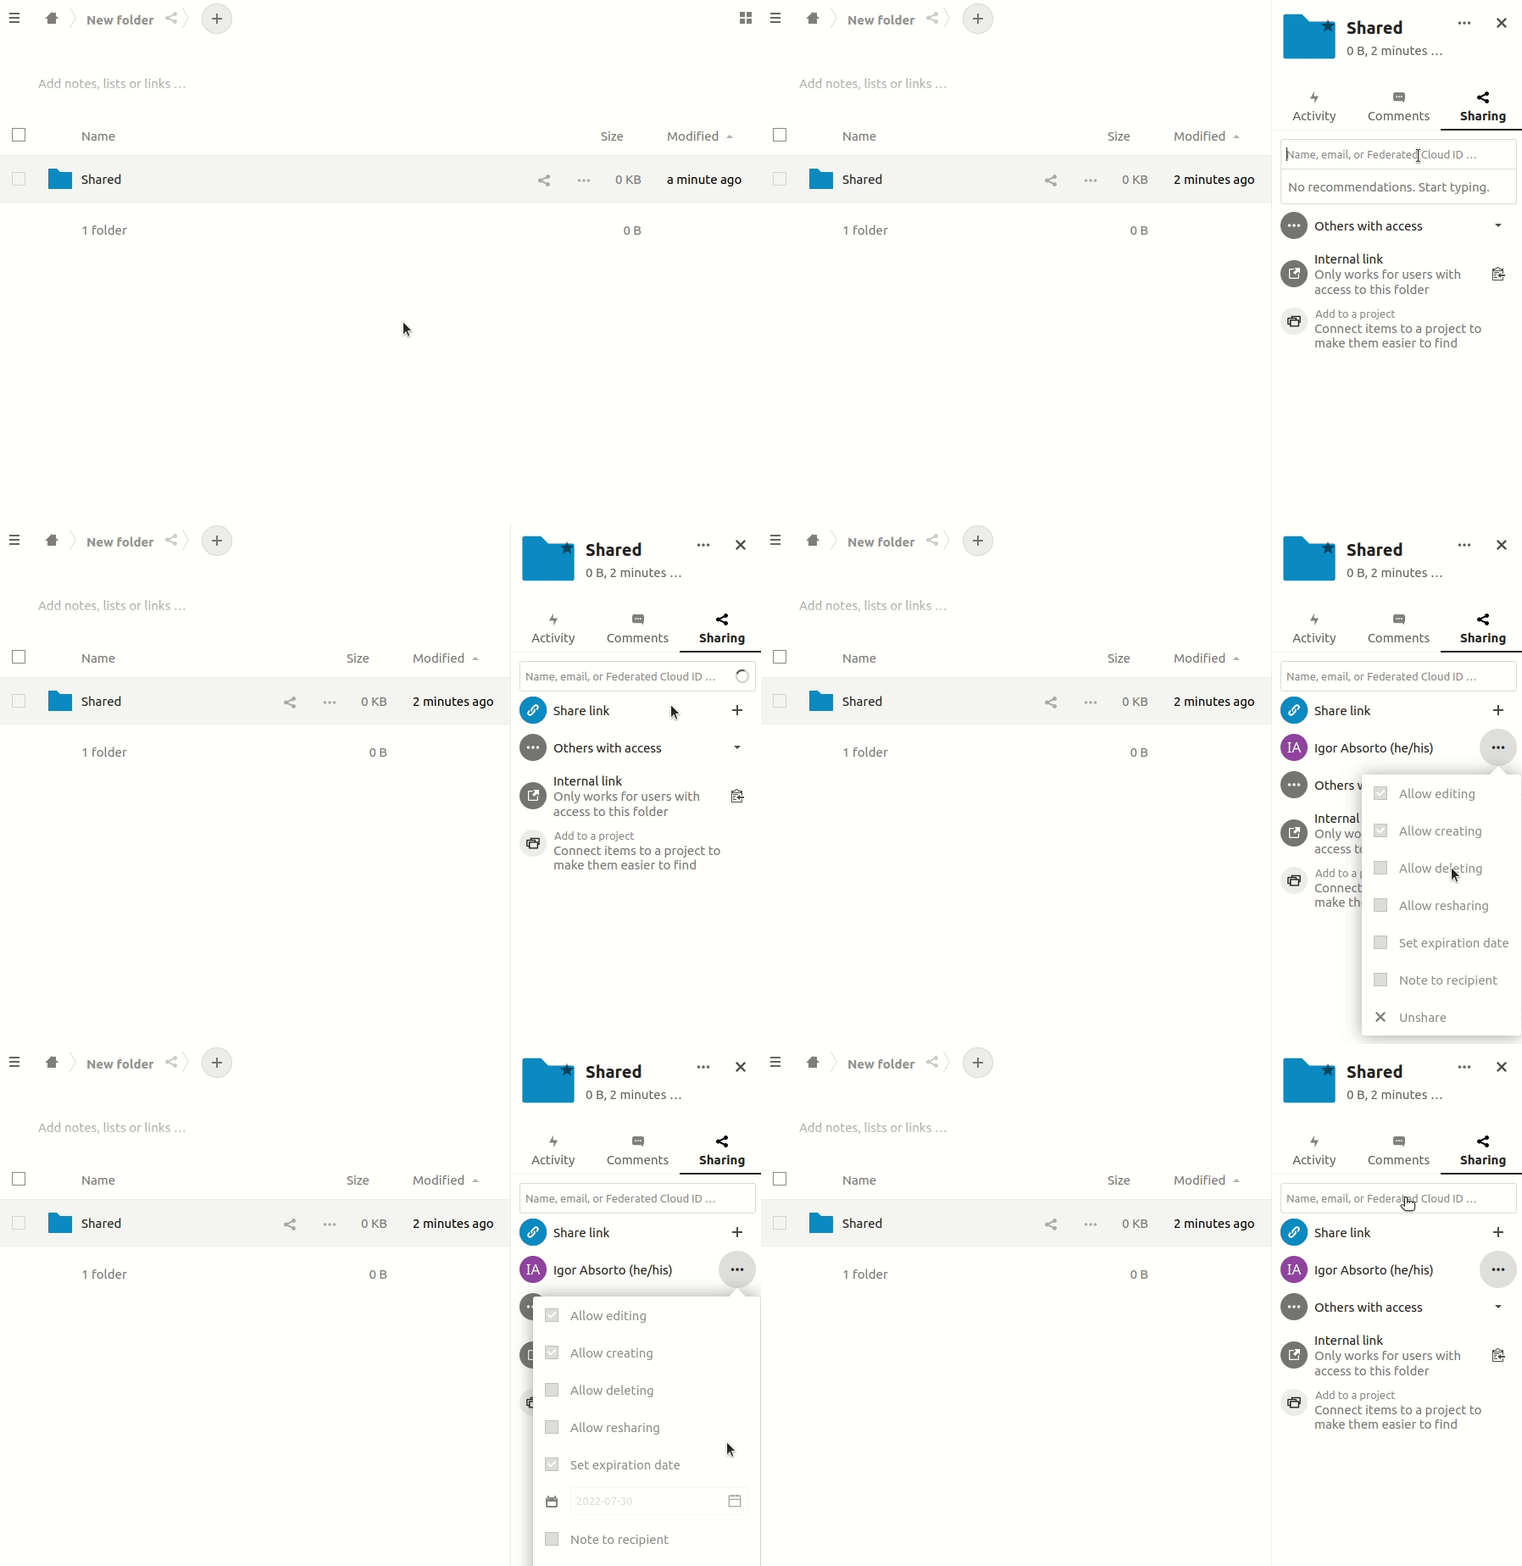
Share files and folders internally with individual users and groups
To share a file or folder with individual user (who is part of CommsLabs event) – type their name or a first few letters – into the empty field and select the person's name.
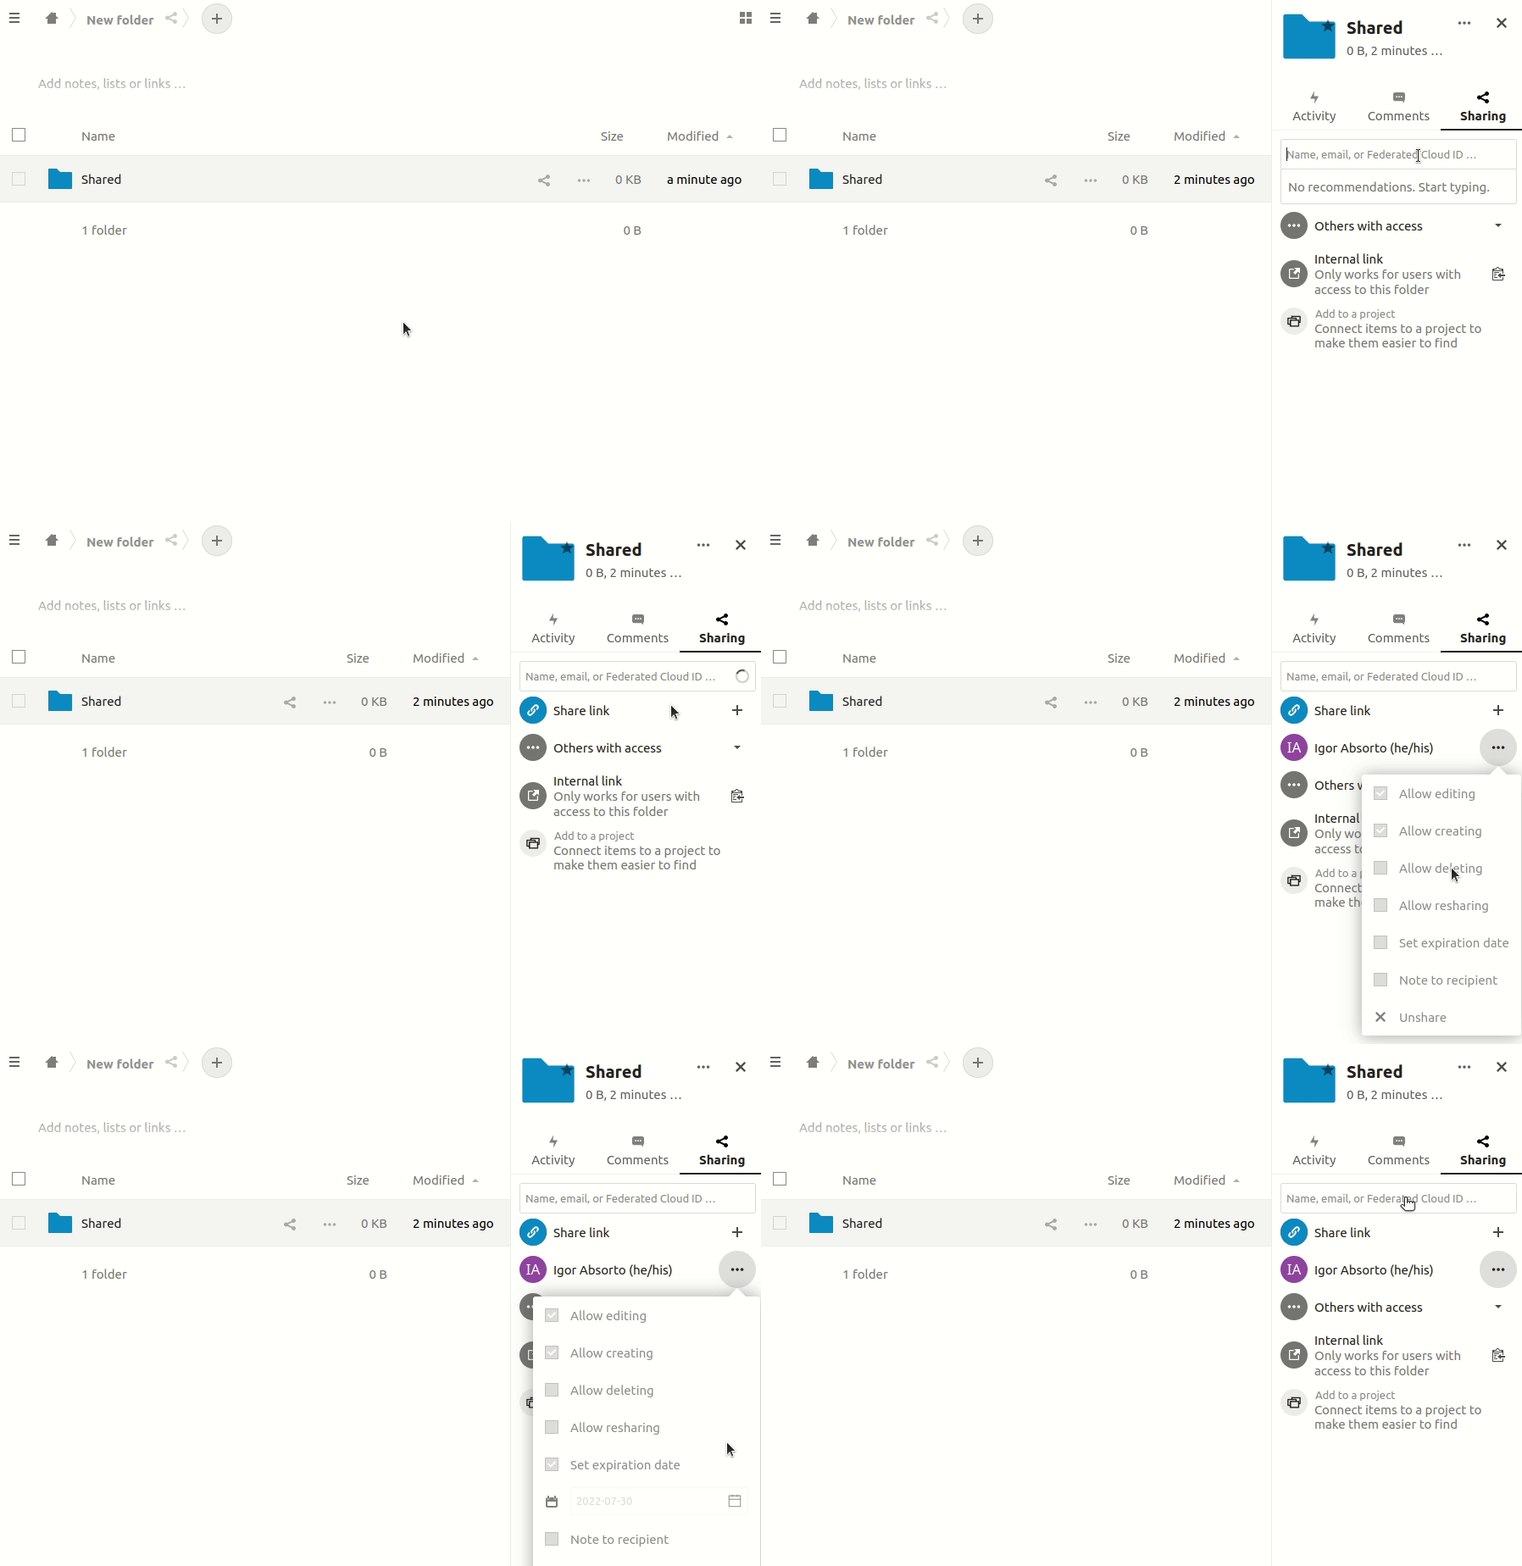
Once you have entered the name of the person you are sharing the resource with, you can define how they will be able to interact with the resource:
- If you select Allow editing they will be able to access the file and change it. If you don't enable it, they will see the file as read-only (although they can copy and download it).
- Allow creating: allows the user to create new files and add them to the shared resources.
- Allow deleting: allows the user to delete shared files.
- Allow resharing: allows user to share the resource with other people.
- Set expiration date: allows you to set a date after which the resource will stop being available to selected user.
- Note to recipient: allows you to write a meesage to the person who will get the access and sends an email to them.
- Unshare: can be used to remove access when it is no longer needed.
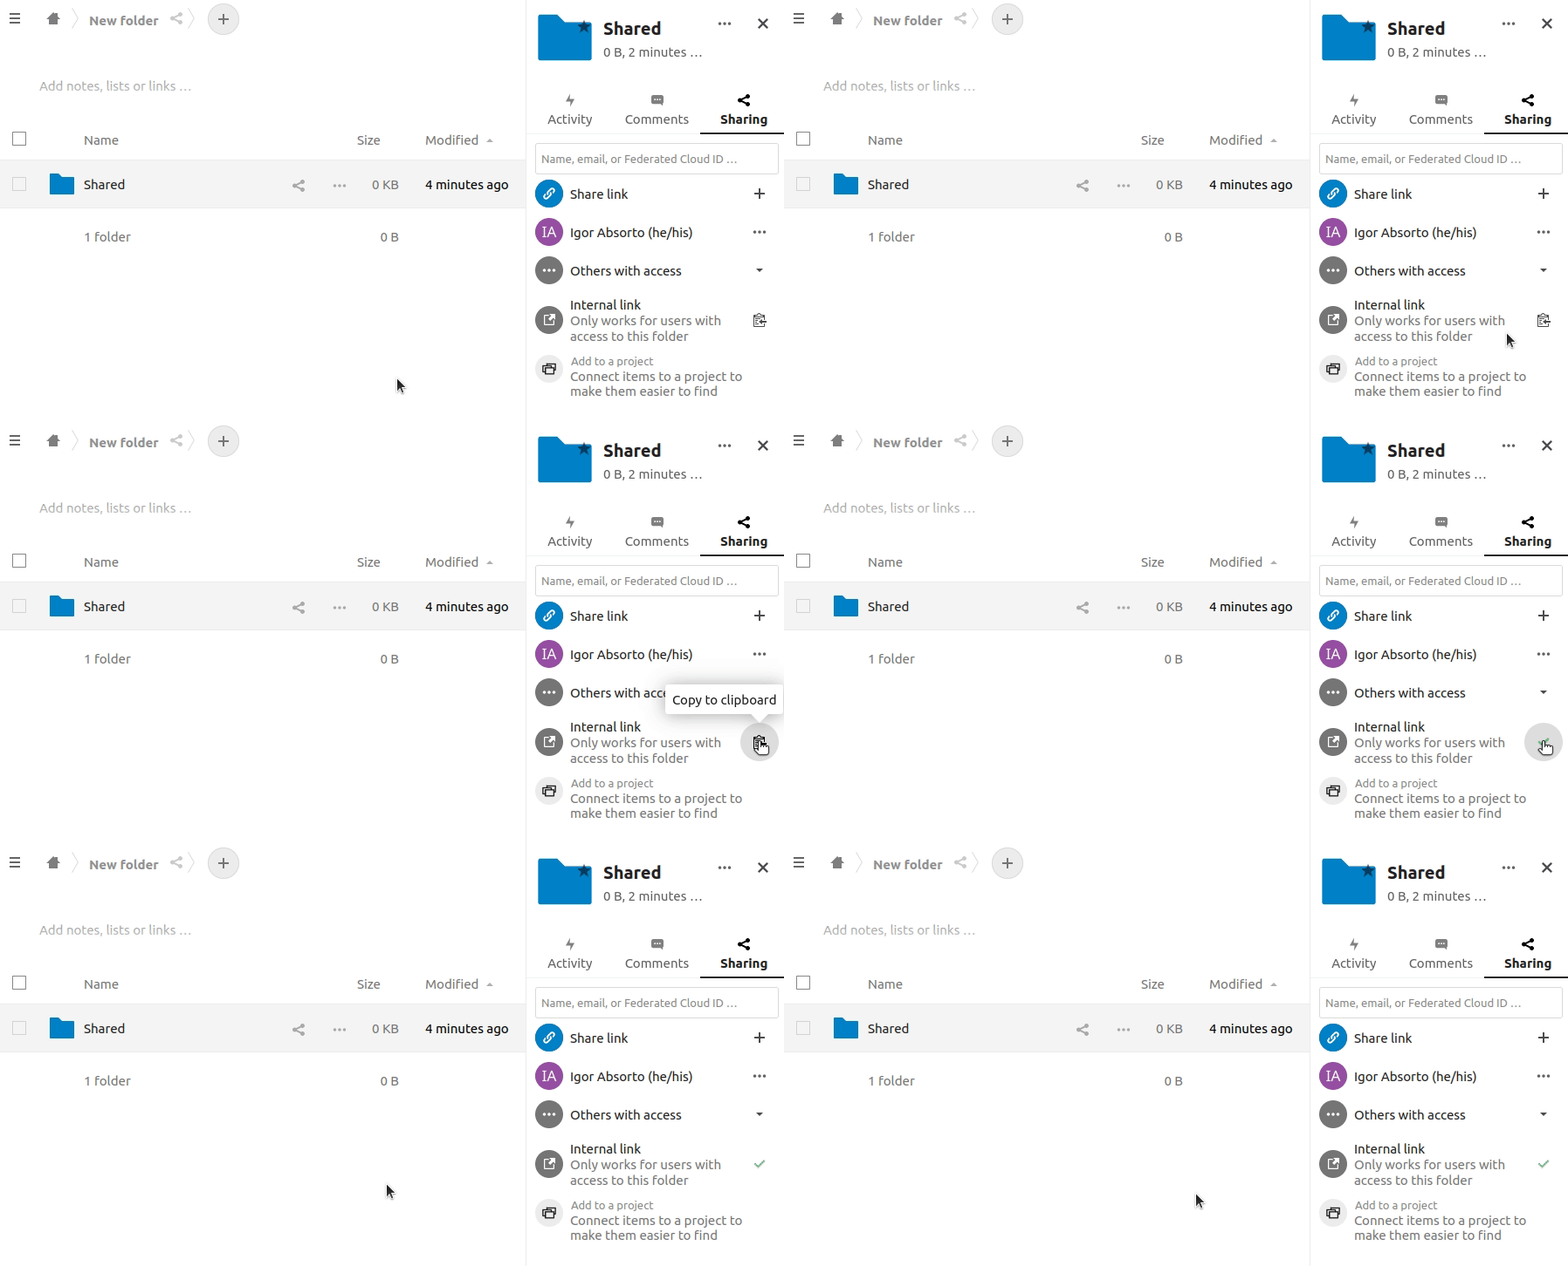
When user has access to the folder you can also send them the Internal link for direct access. To copy it click on the copy icon next to Internal link option.
Share files and folders externally
You can share files and folders via public links.
When you you enable it, the resource will be available to anyone who has the link. Use public link sharing only when necessary - always add a strong password and set an expiration date.
To share a file or folder select Share link and adjust sharing settings. Click on the Copy icon to get the link of the document.
A random 15-digit token will be created. The link will look like https://files.commslabs.org/s/N4n11wsWQFfg75X.
Now you can send the link via email or other channels.
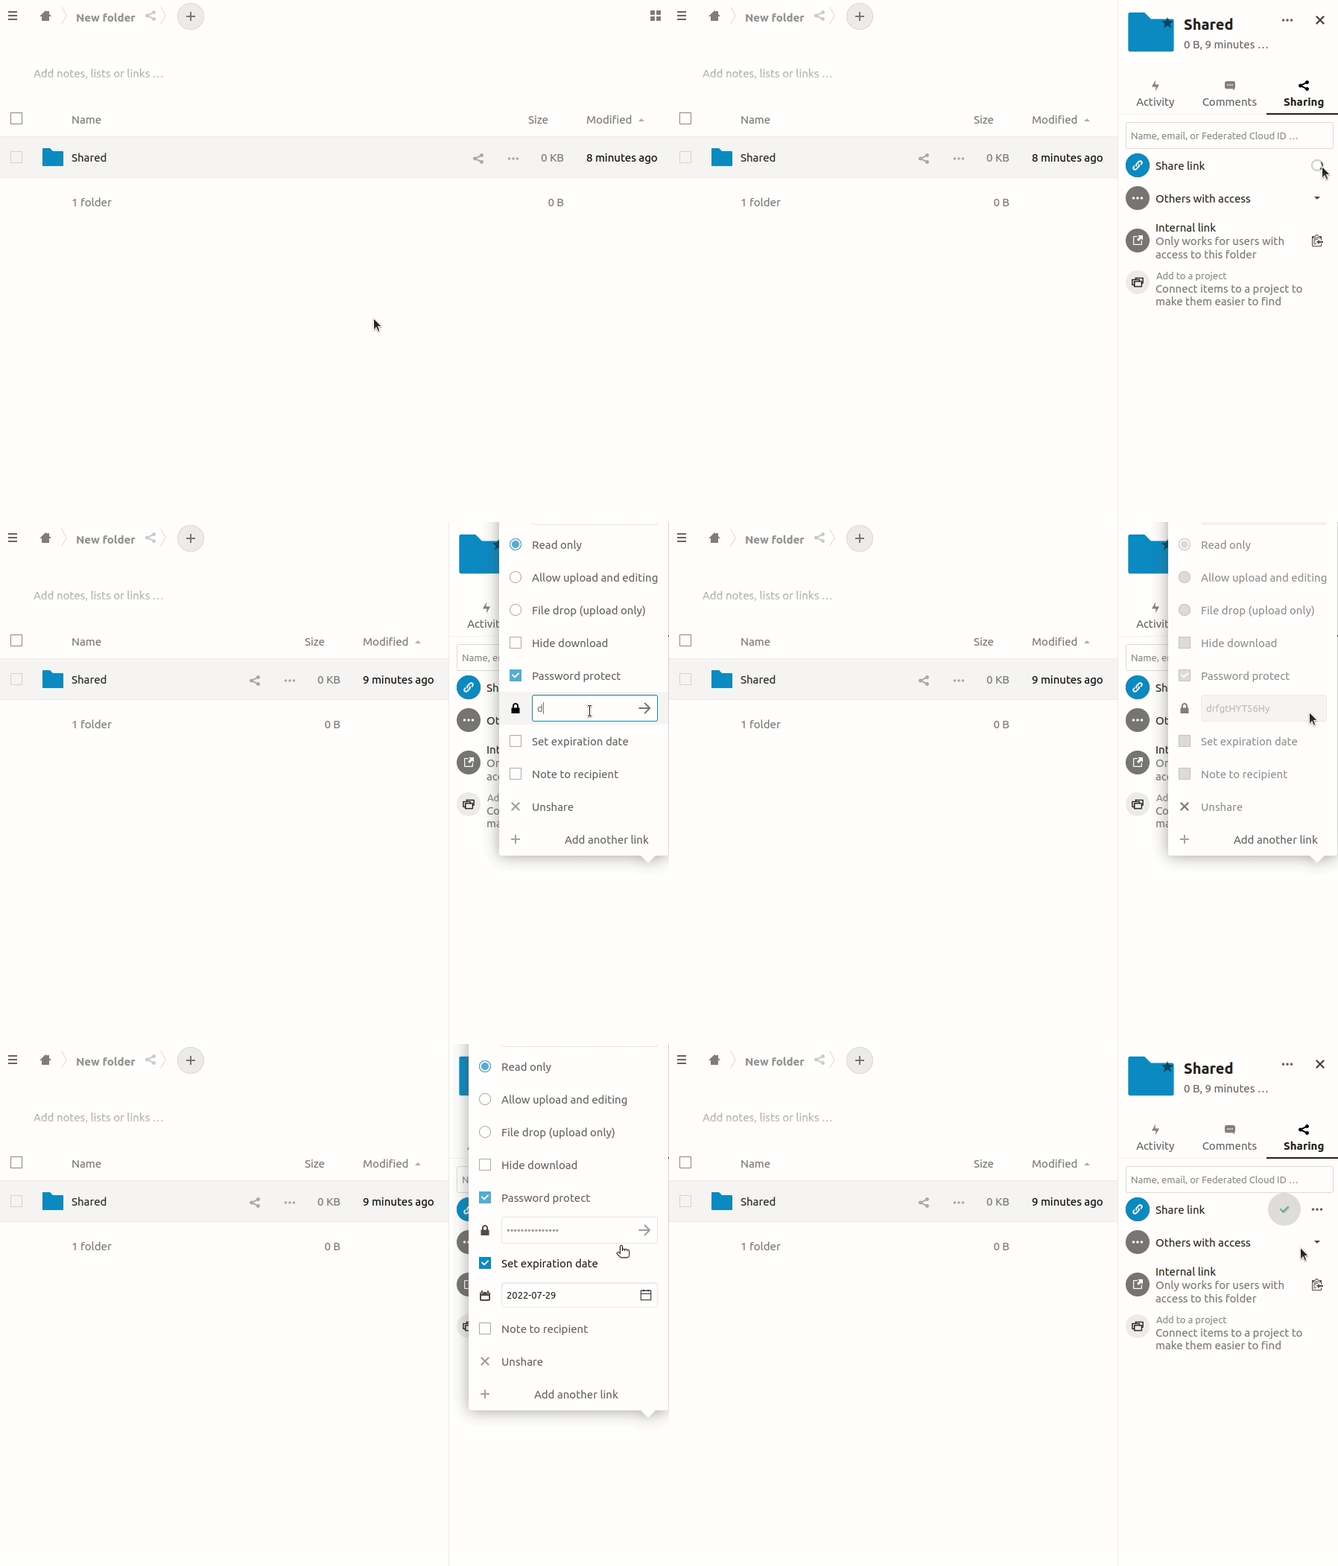
Adjust the settings:
Read onlyto allow viewing and downloadingAllow upload and editing- With
File drop, the sharee can only upload files to a folder without seeing the files that are already in that folder. Hide downloadhides the download buttons and the default browser right-click options in order to make downloading for the sharee harderPassword protectSet expiration datewill automatically disable the sharingNote to recipientUnshareto revert the shareAdd another linkto create multiple public links with different rights
Another option to share the files and folders is via email address. In this case the person will receive a message with a link and instructions on how to access the resources.
Review shared files and folders
If you want to check what is shared with you and what you have shared with others, you can filter the shared files by selecting shares in the left side menu.
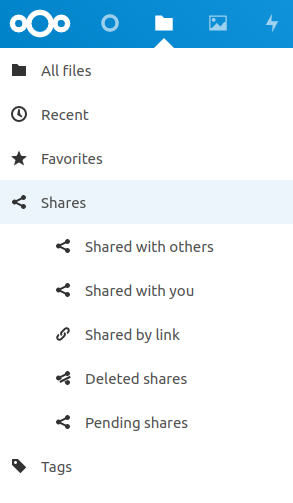
Shared with othersdisplays all files that you have shared with other users or groups.Shared with youdisplays all files shared with you by other users or groups.Shared by linkdisplays all files that are shared by you via public linkPending sharesare shares that you sent to someone but they have not yet accepted
Collaborative editing
For working collaboratively on a document we use OnlyOffice that is connected to files.commslabs.org.
OnlyOffice is installed in a separate server – when you click and open on a document, the file is sent to OnlyOffice while you work on it. Then when you save or close the editing tab, the file is sent back to files.commslabs.org.
This process of sending back the file to files.commslabs.org can take a few minutes, so in some cases if you re-open immediately, you won't see the changes. Just wait a few minutes for the updated version to show up.
If you want to share a link to a document stored in files.commslabs.org with people to collaborate on it use the link you get from files.commslabs.org by clicking Share icon and copying the Internal link there (which looks like: https://files.commslabs.org/s/XYmNaLGTFCAHqGp).

It is very important that you don't copy the link that you get in the browser's URL.
![]()
Prepare a file for collaborative document editing
To prepare the file for collaborative editing follow the steps:
- Upload the document to the repository.
- If it is in OpenOffice format (.odt), you will need to convert it. To do so click on
…and then selectConvert with ONLYOFFICE. 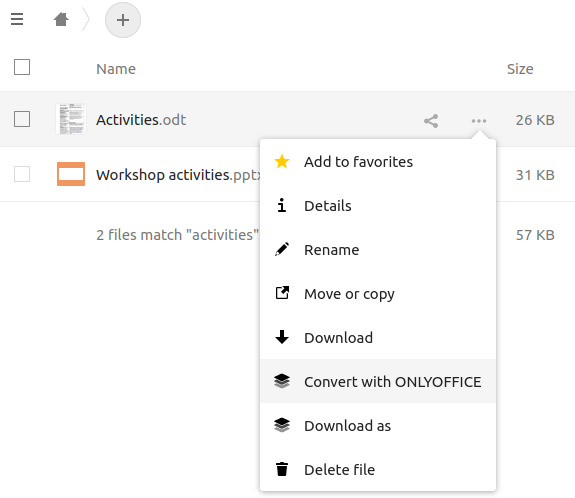
- After the conversion you will have two versions of the document - one in
Open Office format (.odt, .ods)and another inMS Office format (.docx). To avoid confusion which one is there to edit, delete the original(.odt)file. 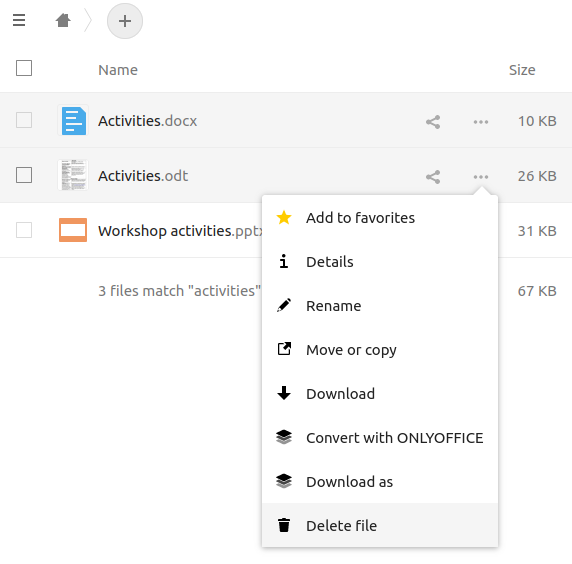
Tracking Changes
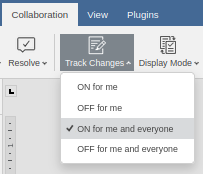
To activate tracking of changes in the file go to Collaboration menu and in the Track Changes dropdown select ON for me and everyone
To review and approve/reject changes made, click on the marked text and Accept or Reject the change in the comment that opens at the side.

Note: Different colors represent different users.
It is possible to navigate through every change using the Next and Previous buttons in the collaboration tab.
To learn more about OnlyOffice comments, check OnlyOffice's official documentation: https://helpcenter.onlyoffice.com/onlyoffice-editors/onlyoffice-document-editor/helpfulhints/review.aspx
Adding and Managing Comments
If you want to add a comment, the easiest way is to select text, right-click on it and select Add Comment.
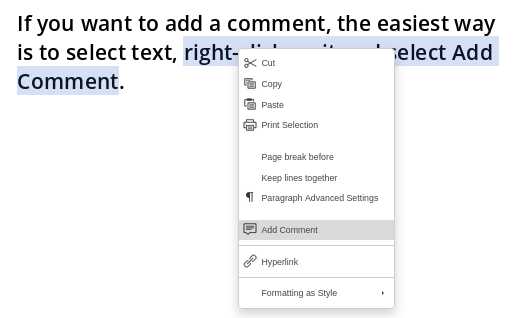
Next, write the comment and click on the button Add.
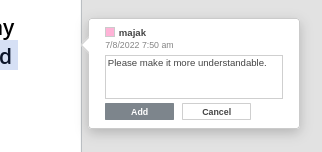
Once a comment has been added, you can reply to it by clicking on the Add Reply button.
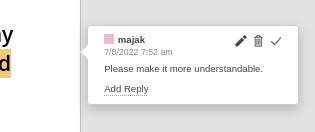
It is possible to mention users in the comments by typing in a + and their username which will be auto-completed.
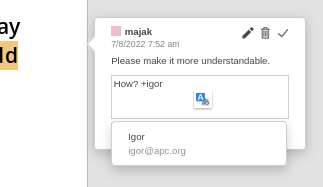
If the text is commented it will have a different background color and simply clicking on it will display the comments.

All comments in the document can be accessed by clicking on the Comments icon in the toolbar on the left side.
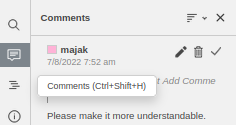
Comments can be approved, making it a useful tool to track which suggestions were accepted and already changed.
All comments can be removed in one action by going to the Collaboration menu and clicking on Remove All Comments.

Note: If the document is shared as read-only you won’t be able to add comments.
Extra tips for file editing
- To download a copy of the file, select
File>Download as...and select the format. - To quickly get the sharing link of a file from within OnlyOffice, select
File>Open File Location. This will open a new tab folder where the file is located allowing you to copy the sharing link. - When editing a cell in a spreadsheet, use the combination
Ctrl + Alt + Enter/Returnto create a new line without jumping to a new cell. - Note: this feature is unavailable at the moment. You can lock a file so others cannot make changes on it (for example while you are working on it offline) by clicking on the
…and selectingLock file. The file will be locked and other users won't be able to change it until you unlock it, using the same process.
File versioning
If there are major changes to a file, the system keeps older copies. You can see them by click on the …, then Details and Versions. There you can access stored older versions.
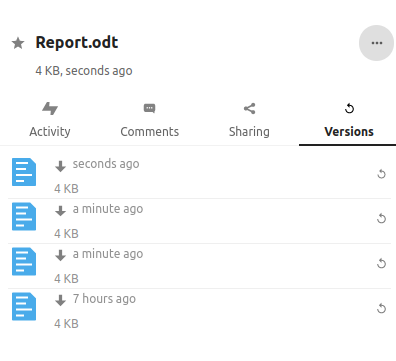
Click on the timestamp to open the file and review contents of the versions.
Be very careful about restoring older versions, as they will overwrite the current one. It is a good practice to review and download the version file before overwriting.
To restore a specific version of a file, click the circular arrow on the right.
Restoring and permanently deleting a file or a folder
When you delete a file or folder in Nextcloud, it is not permanently deleted. Instead, it is moved into Deleted files folder from where you can restore it. You can find the Deleted files folder at the bottom left of the window in folder view.

To restore the file or folder click on the Restore icon in the Deleted files folder.

To permanently delete files select ... next to the file name and select Delete permanently.

Check the Deleted Files folder regularly to delete all files and clean up space on the server.
Deleting shared files and folders
When you delete a shared file or folder it will end up in your Deleted files folder and if you are not the one sharing the file or folder it will also be moved to Deleted files folder of the Owner.
Search
The search functionality is very powerful and can locate files and folders. Run it from your home folder or if you want more specific search, first navigate to a specific folder.
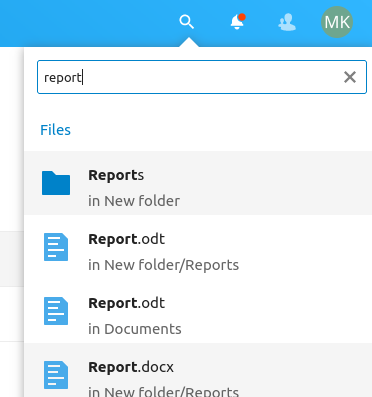
Desktop application
Desktop application offers a convenient way to connect and synchronize files and folders on Nextcloud with your computer. This way it is easy to copy large files into Nextcloud, or move them around. BUT it is also quite dangerous, as you can easily delete files!
You can download a client here: https://nextcloud.com/install/#install-clients
Next install and configure it by entering the server address https://files.commslabs.org/ and your username and password.
Next chose which folders on the server you want to synchronize locally.
The folders that you select will be replicated on your hard disk.
Be super careful: Changes that you make on the synchronized local copies are replicated on the server. Be extra careful when moving or deleting folders! Please contact tech if you need assistance configuring this.
Mobile applications
You can also have access to files.commslabs.org on your mobile phone. The list of all available apps is available at https://nextcloud.com/install/#install-clients.
Select Nextcloud Files next to Download for mobile.

To install the app follow the instructions for Android phone via Google Play. All other apps have the main same settings (and a similar user interface).
To install Nextcloud app go to https://play.google.com/store/apps/details?id=com.nextcloud.client and click on the button Install.
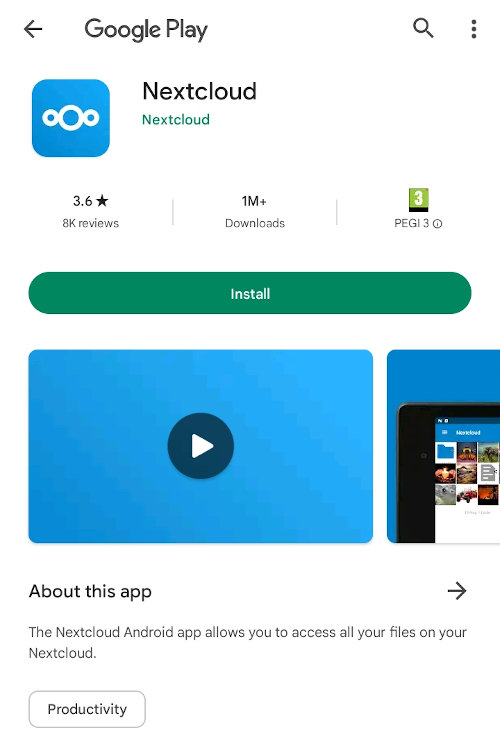
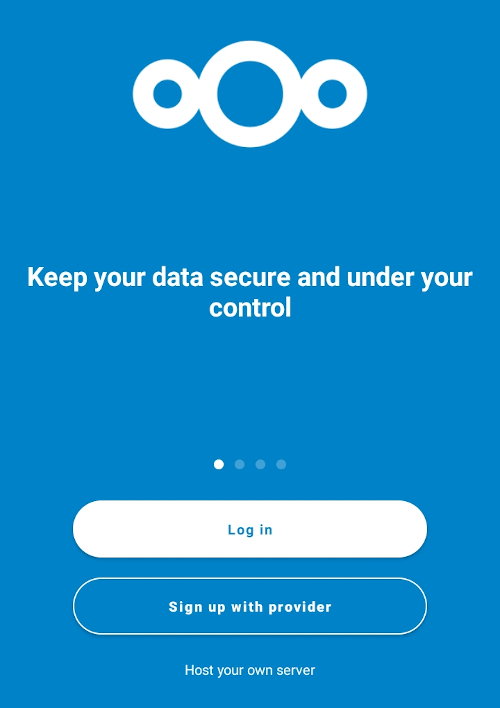
Open the app and tap on Log in button.
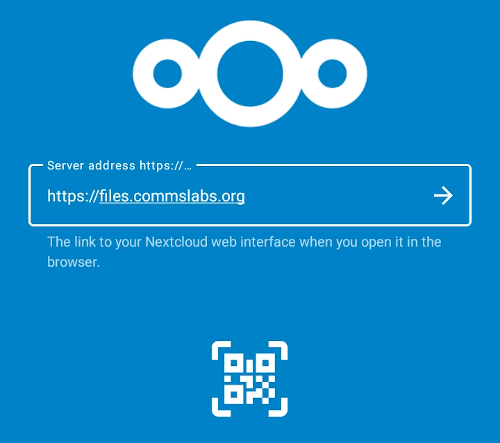
Enter Server address: https://files.commslabs.org.
Then click on Log in and enter with your username and password`.
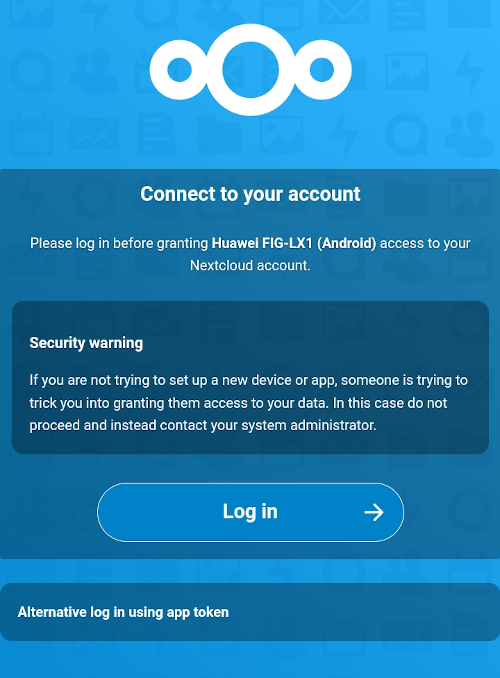
Next click on Grant access.
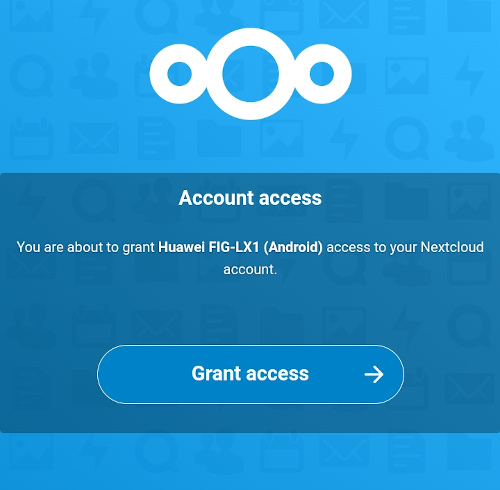
And allow Nextcloud to access photos, media and other files on your device? You can also choose not to or you grant access at the later date when you need the access.
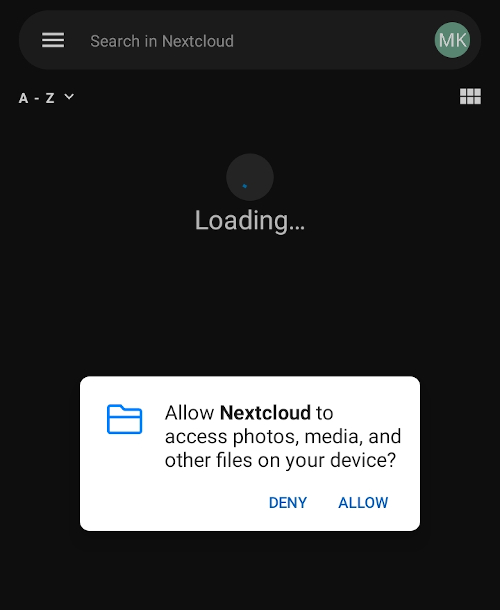
Now app shows all the folders and files you have access to.
Uploading files and photos via app
To upload a photo first navigate to a folder where you want the photos to be saved. Then click on the + icon (bottom right of the screen) and select Upload files or Upload from camera. You can also Create a new folder or create new documents.
« Go back to Files space
« Go back to Digital infrastructure
« Go back to All Modules
